Knowledge Base
How to set DNS for a domain through WHM?
You can configure the DNS for the domain using the “DNS zone manager” option in WHM by following the instructions below.:-
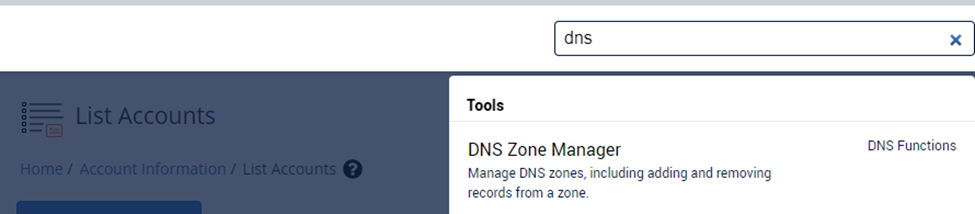
To begin, look for the DNS zone manager option in the WHM search box.
When you navigate to the DNS zone management page, look for the domain for which you want to configure DNS.
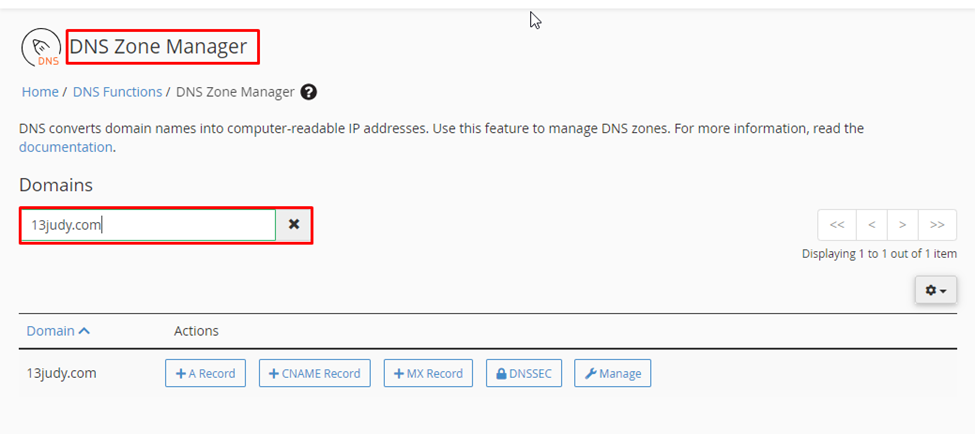
Once the domain is listed, click on the Manage option, which can be found on the right side of the domain.
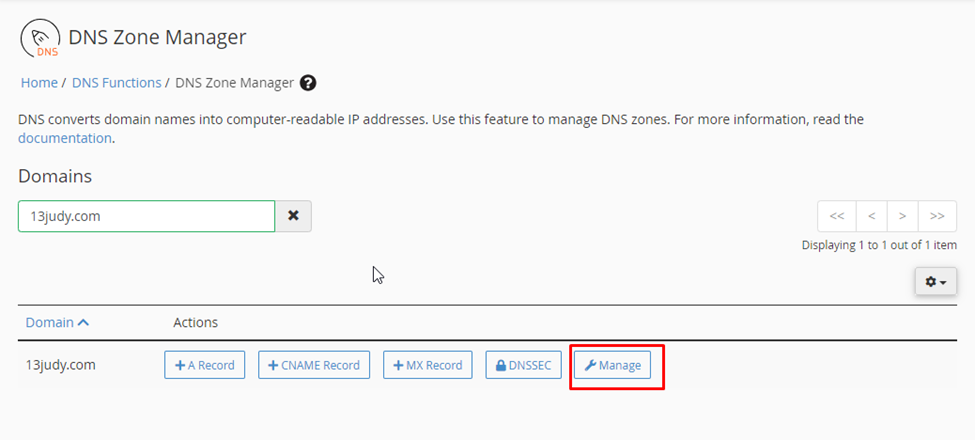
When you click on the manage option, you will be taken to a new page where you will see the “Add record” option on the left-hand side, and from there you will be able to set the name server for the domain.

You will also see a drop down menu in the “Add record” option; select the relevant record from the drop down menu that you want to configure for the domain.
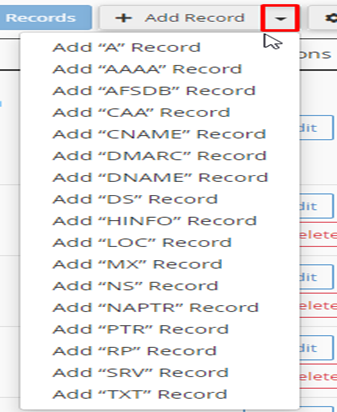
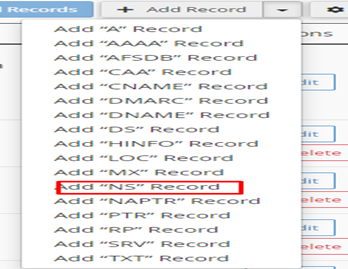
As an example. If you want to set the domain’s NS record, first select the “NS ” option from the drop down menu in the “Add record” option.
Enter the domain name in the “valid zone name” field>>enter the TTL as 14400>>enter the first NS record in the “Record” field>>click the “save record” button.

You can set the second name server for the domain in the same manner as described previously; please see the attached screenshot for further information.

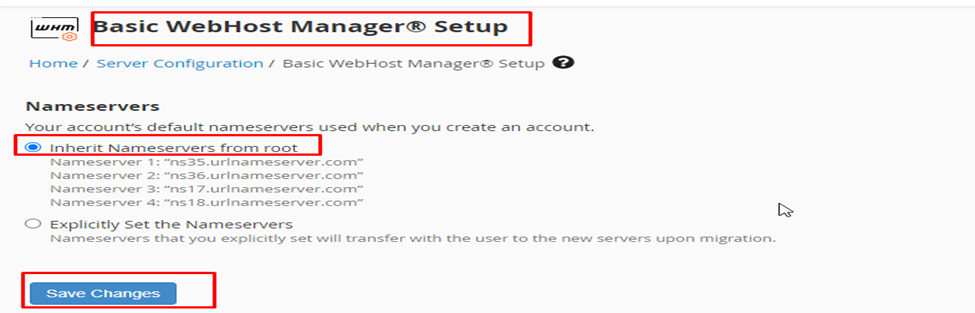
Also, if you are a reseller and want all domains under your WHM to utilize the same name servers by default, you may do so using the WHM>> “Basic WebHost Manager setup” option.
Under the “Basic WebHost Manager Setup” page, you will see the “Nameservers” option available, and under the name server option, you must select “Inherit Nameservers from root” option and click the “save changes” button